If you’ve ever seen those gorgeous vintage tray vignettes on Pinterest or Instagram and thought, “Mine never look like that,” you’re not alone. Styling can feel intimidating—especially when you’re trying to make something look effortless and charming. But the good news? You don’t have to be a designer to create a beautiful vintage tray display. With a few simple tricks (and a little confidence), anyone can pull off a cozy, collected vintage look.
Step 1: Start with the Right Tray
Your tray is your stage—everything else plays off it. When you’re new to styling, choose a tray that already has character. That way, even if your decor is minimal, it still looks intentional. Try these vintage-friendly options:
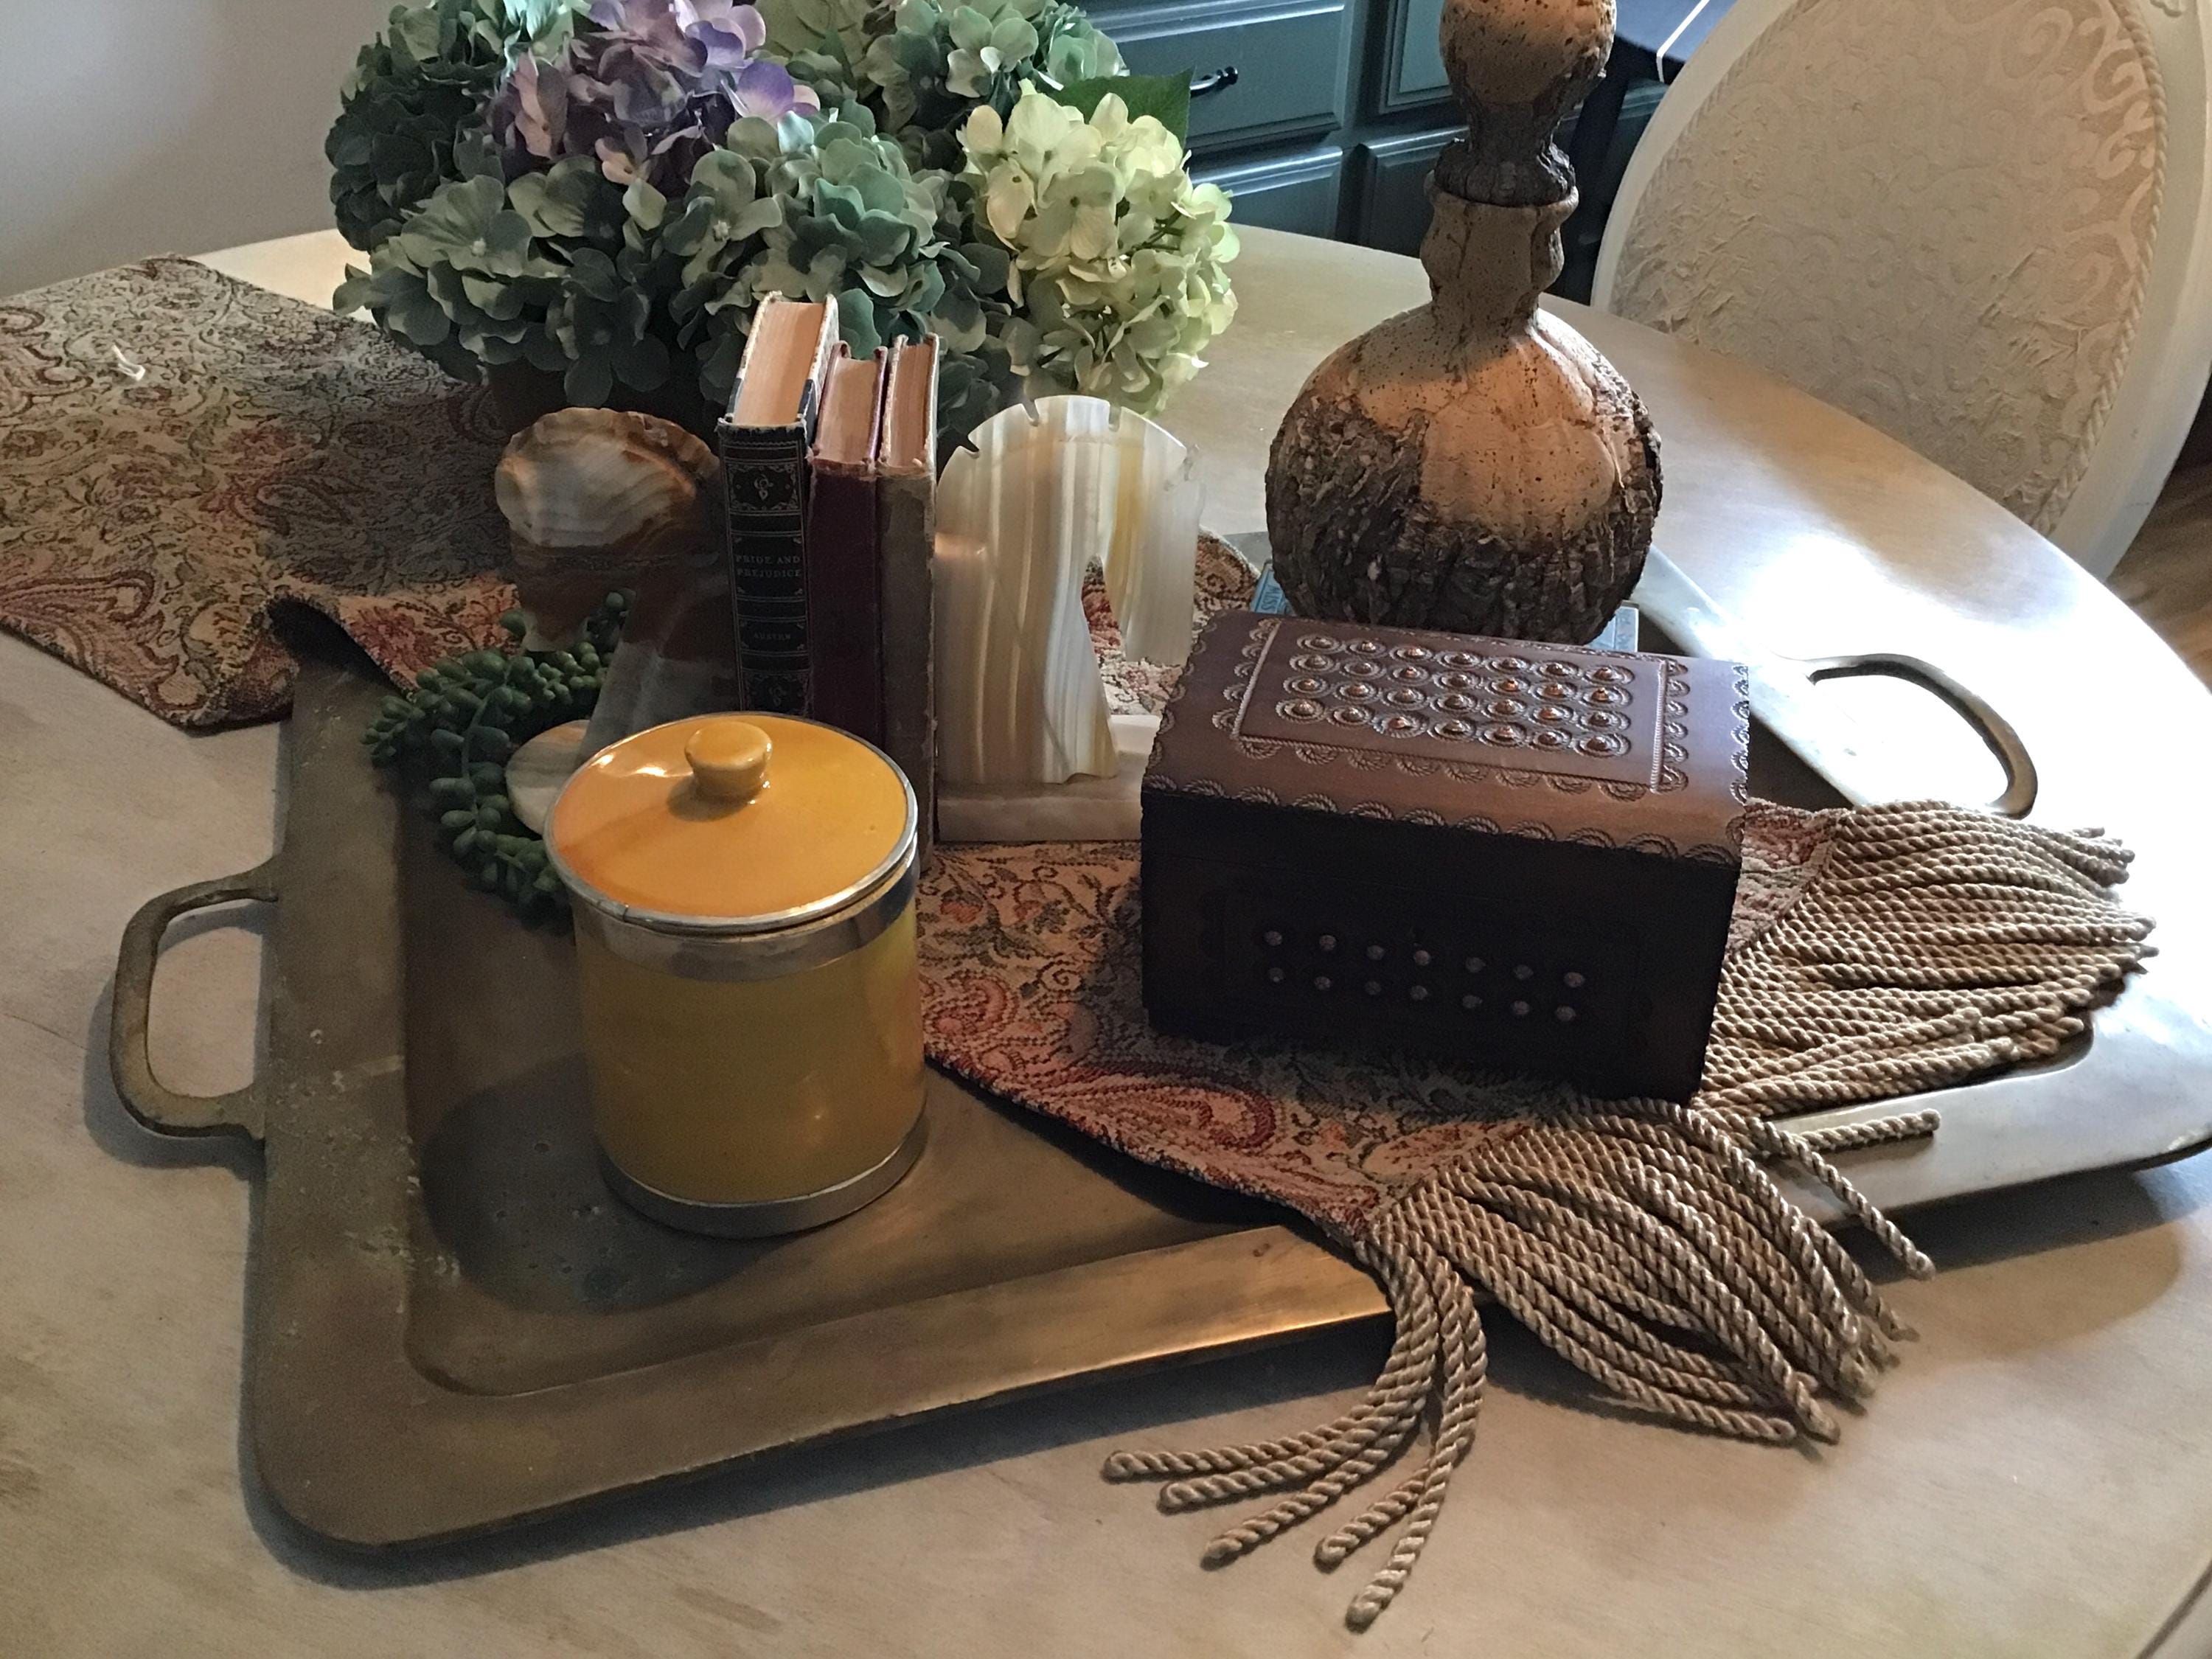
- A tarnished brass tray with handles
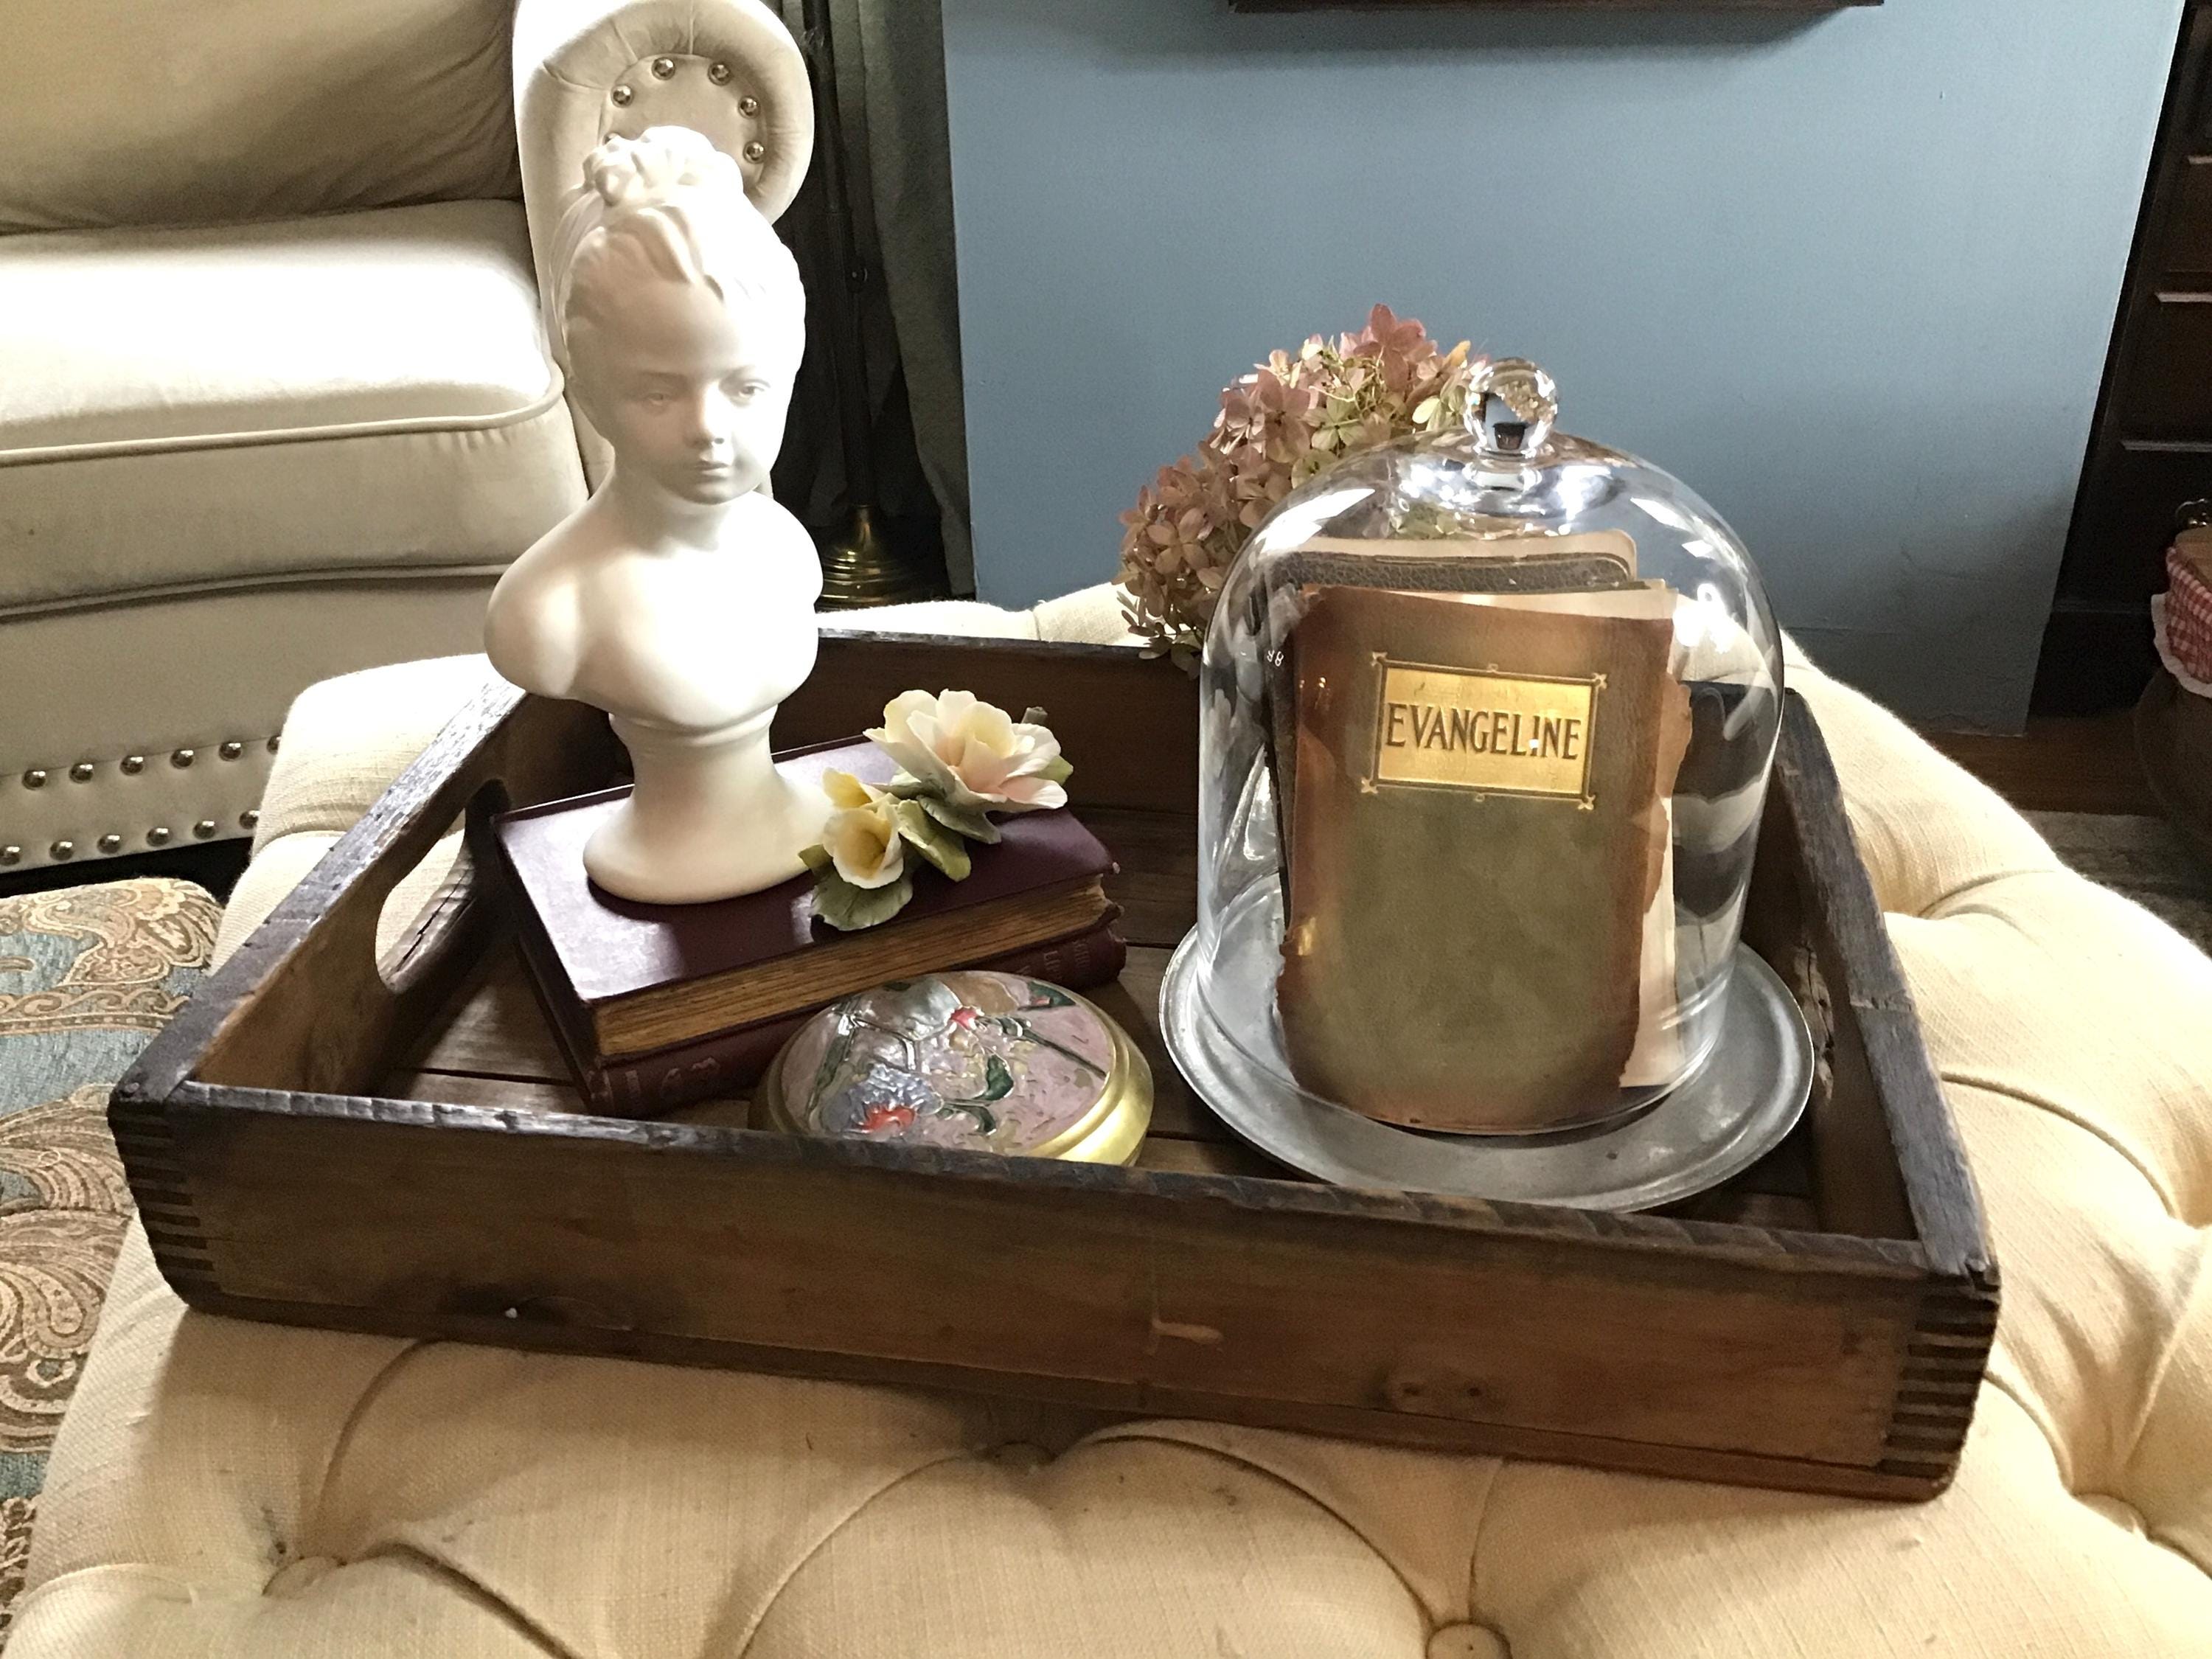
- A wooden serving tray with patina
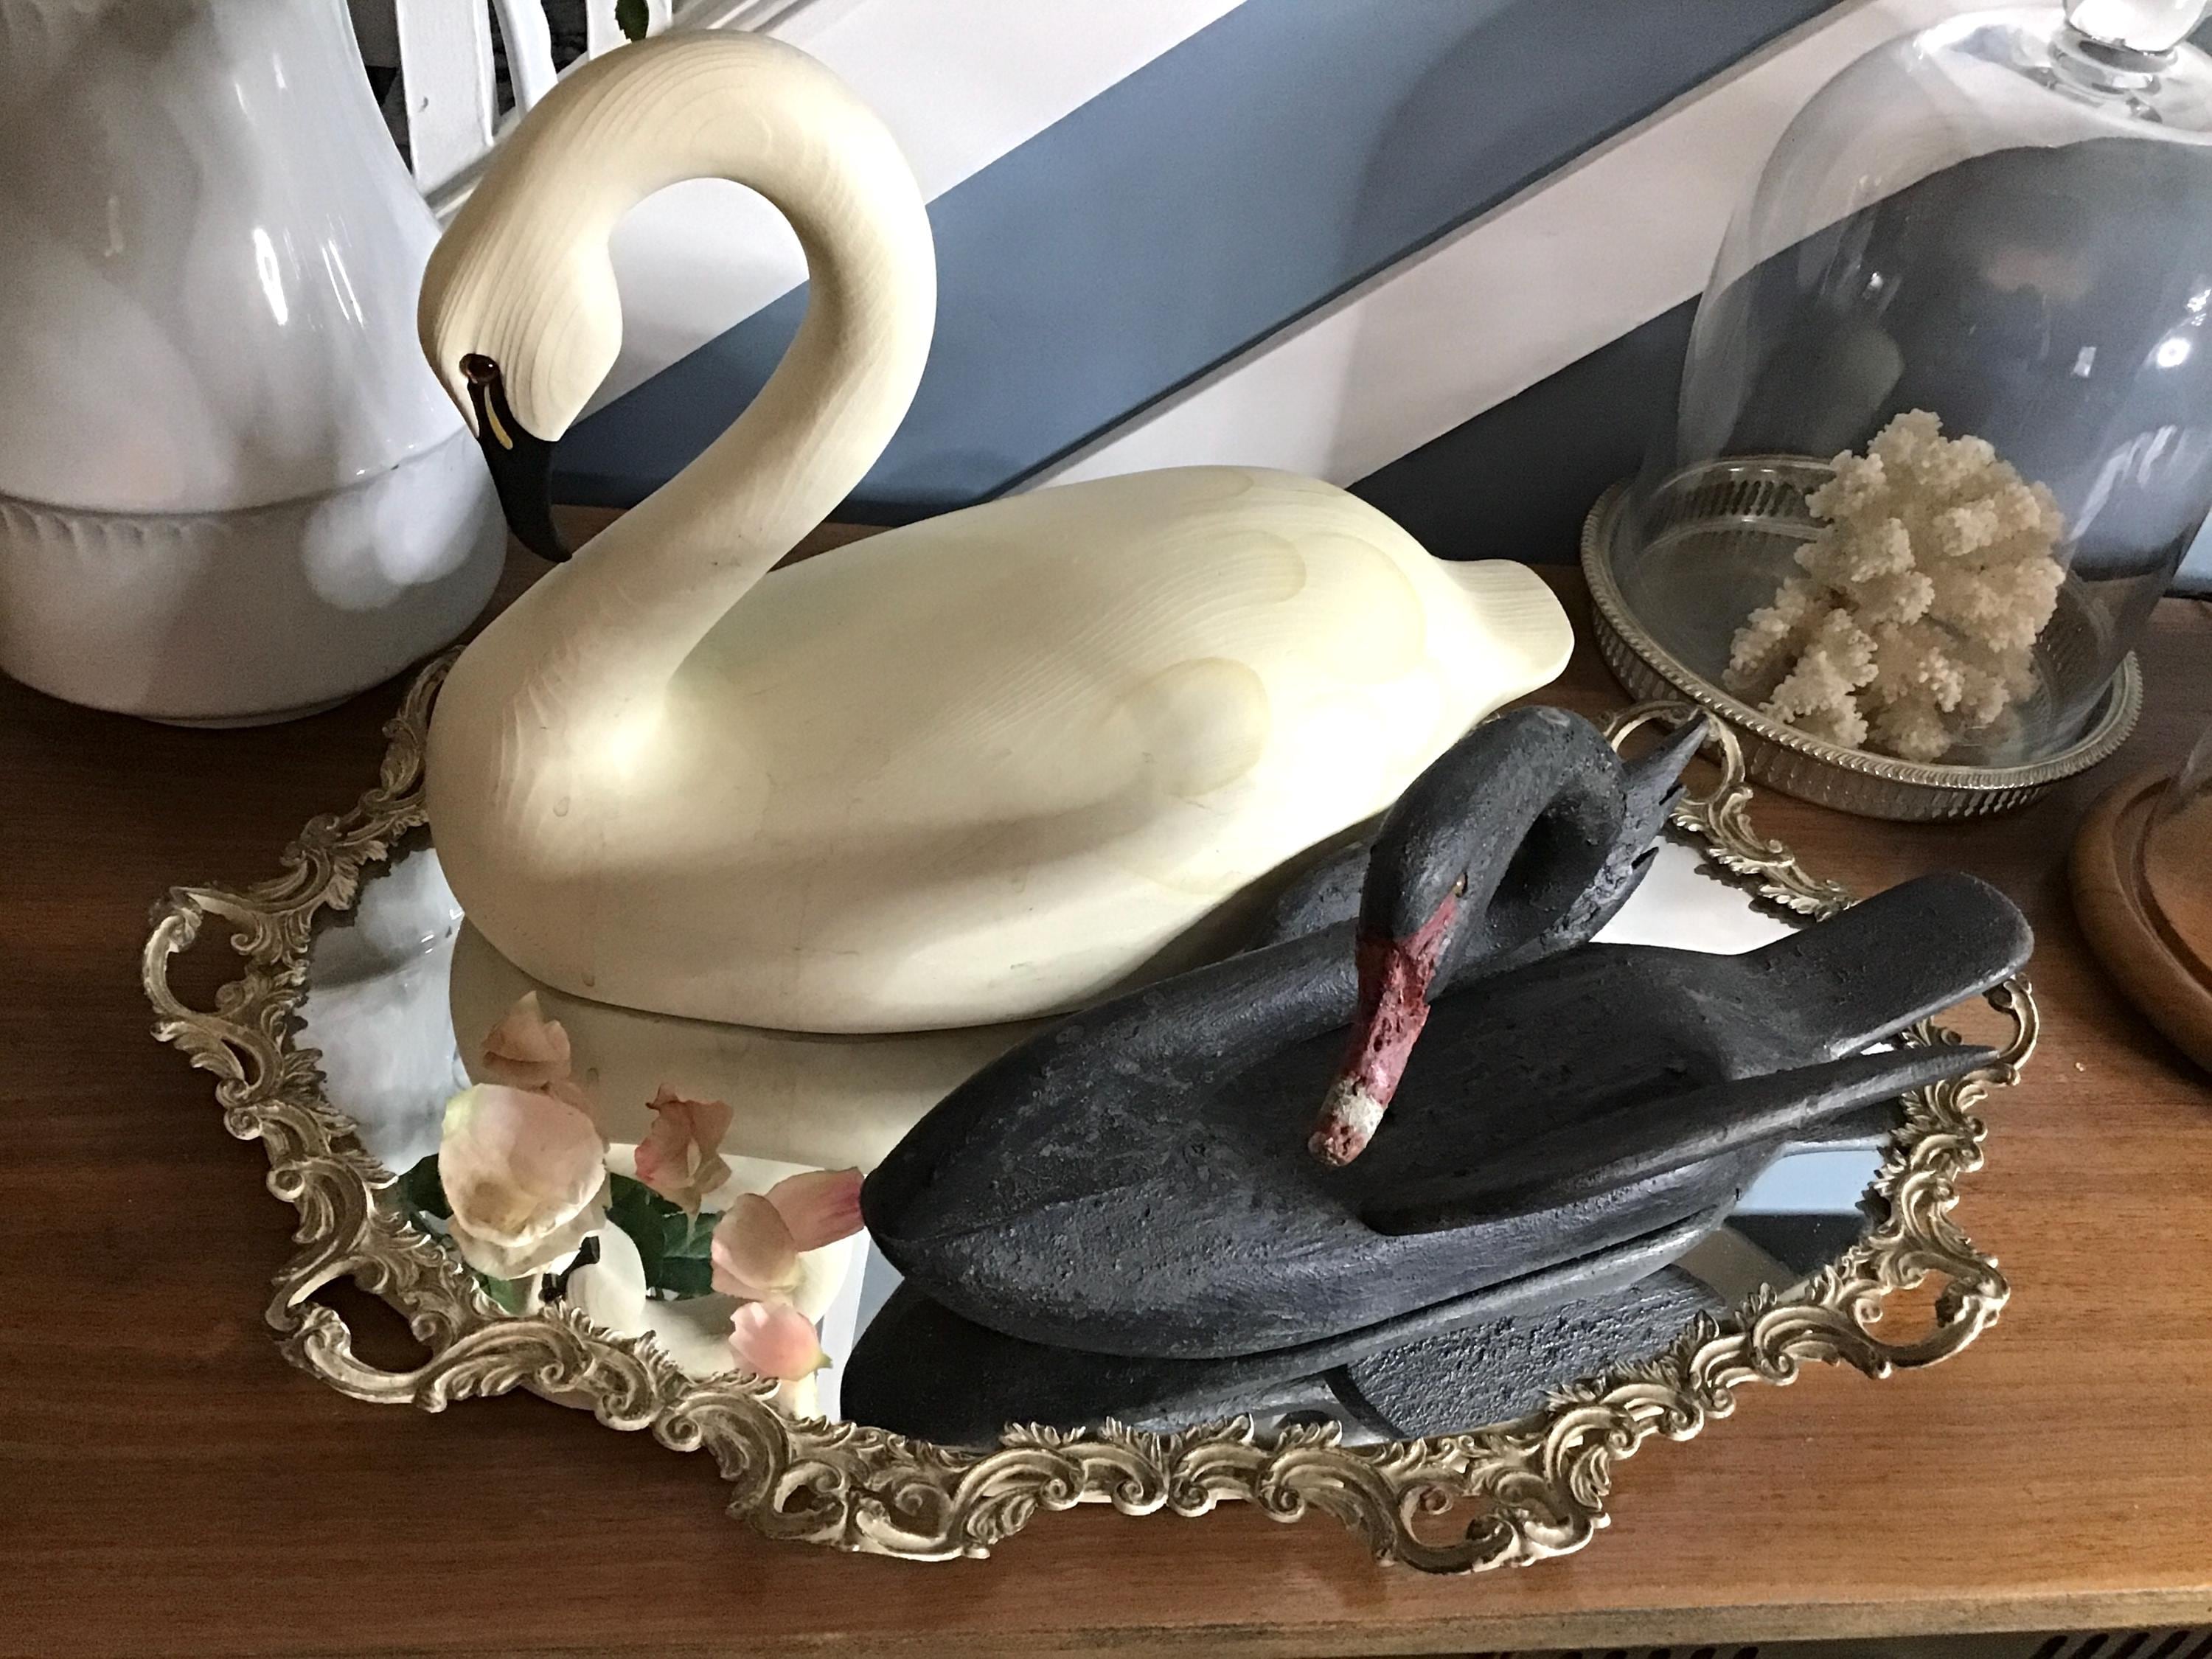
- A mirrored perfume tray from a thrift store
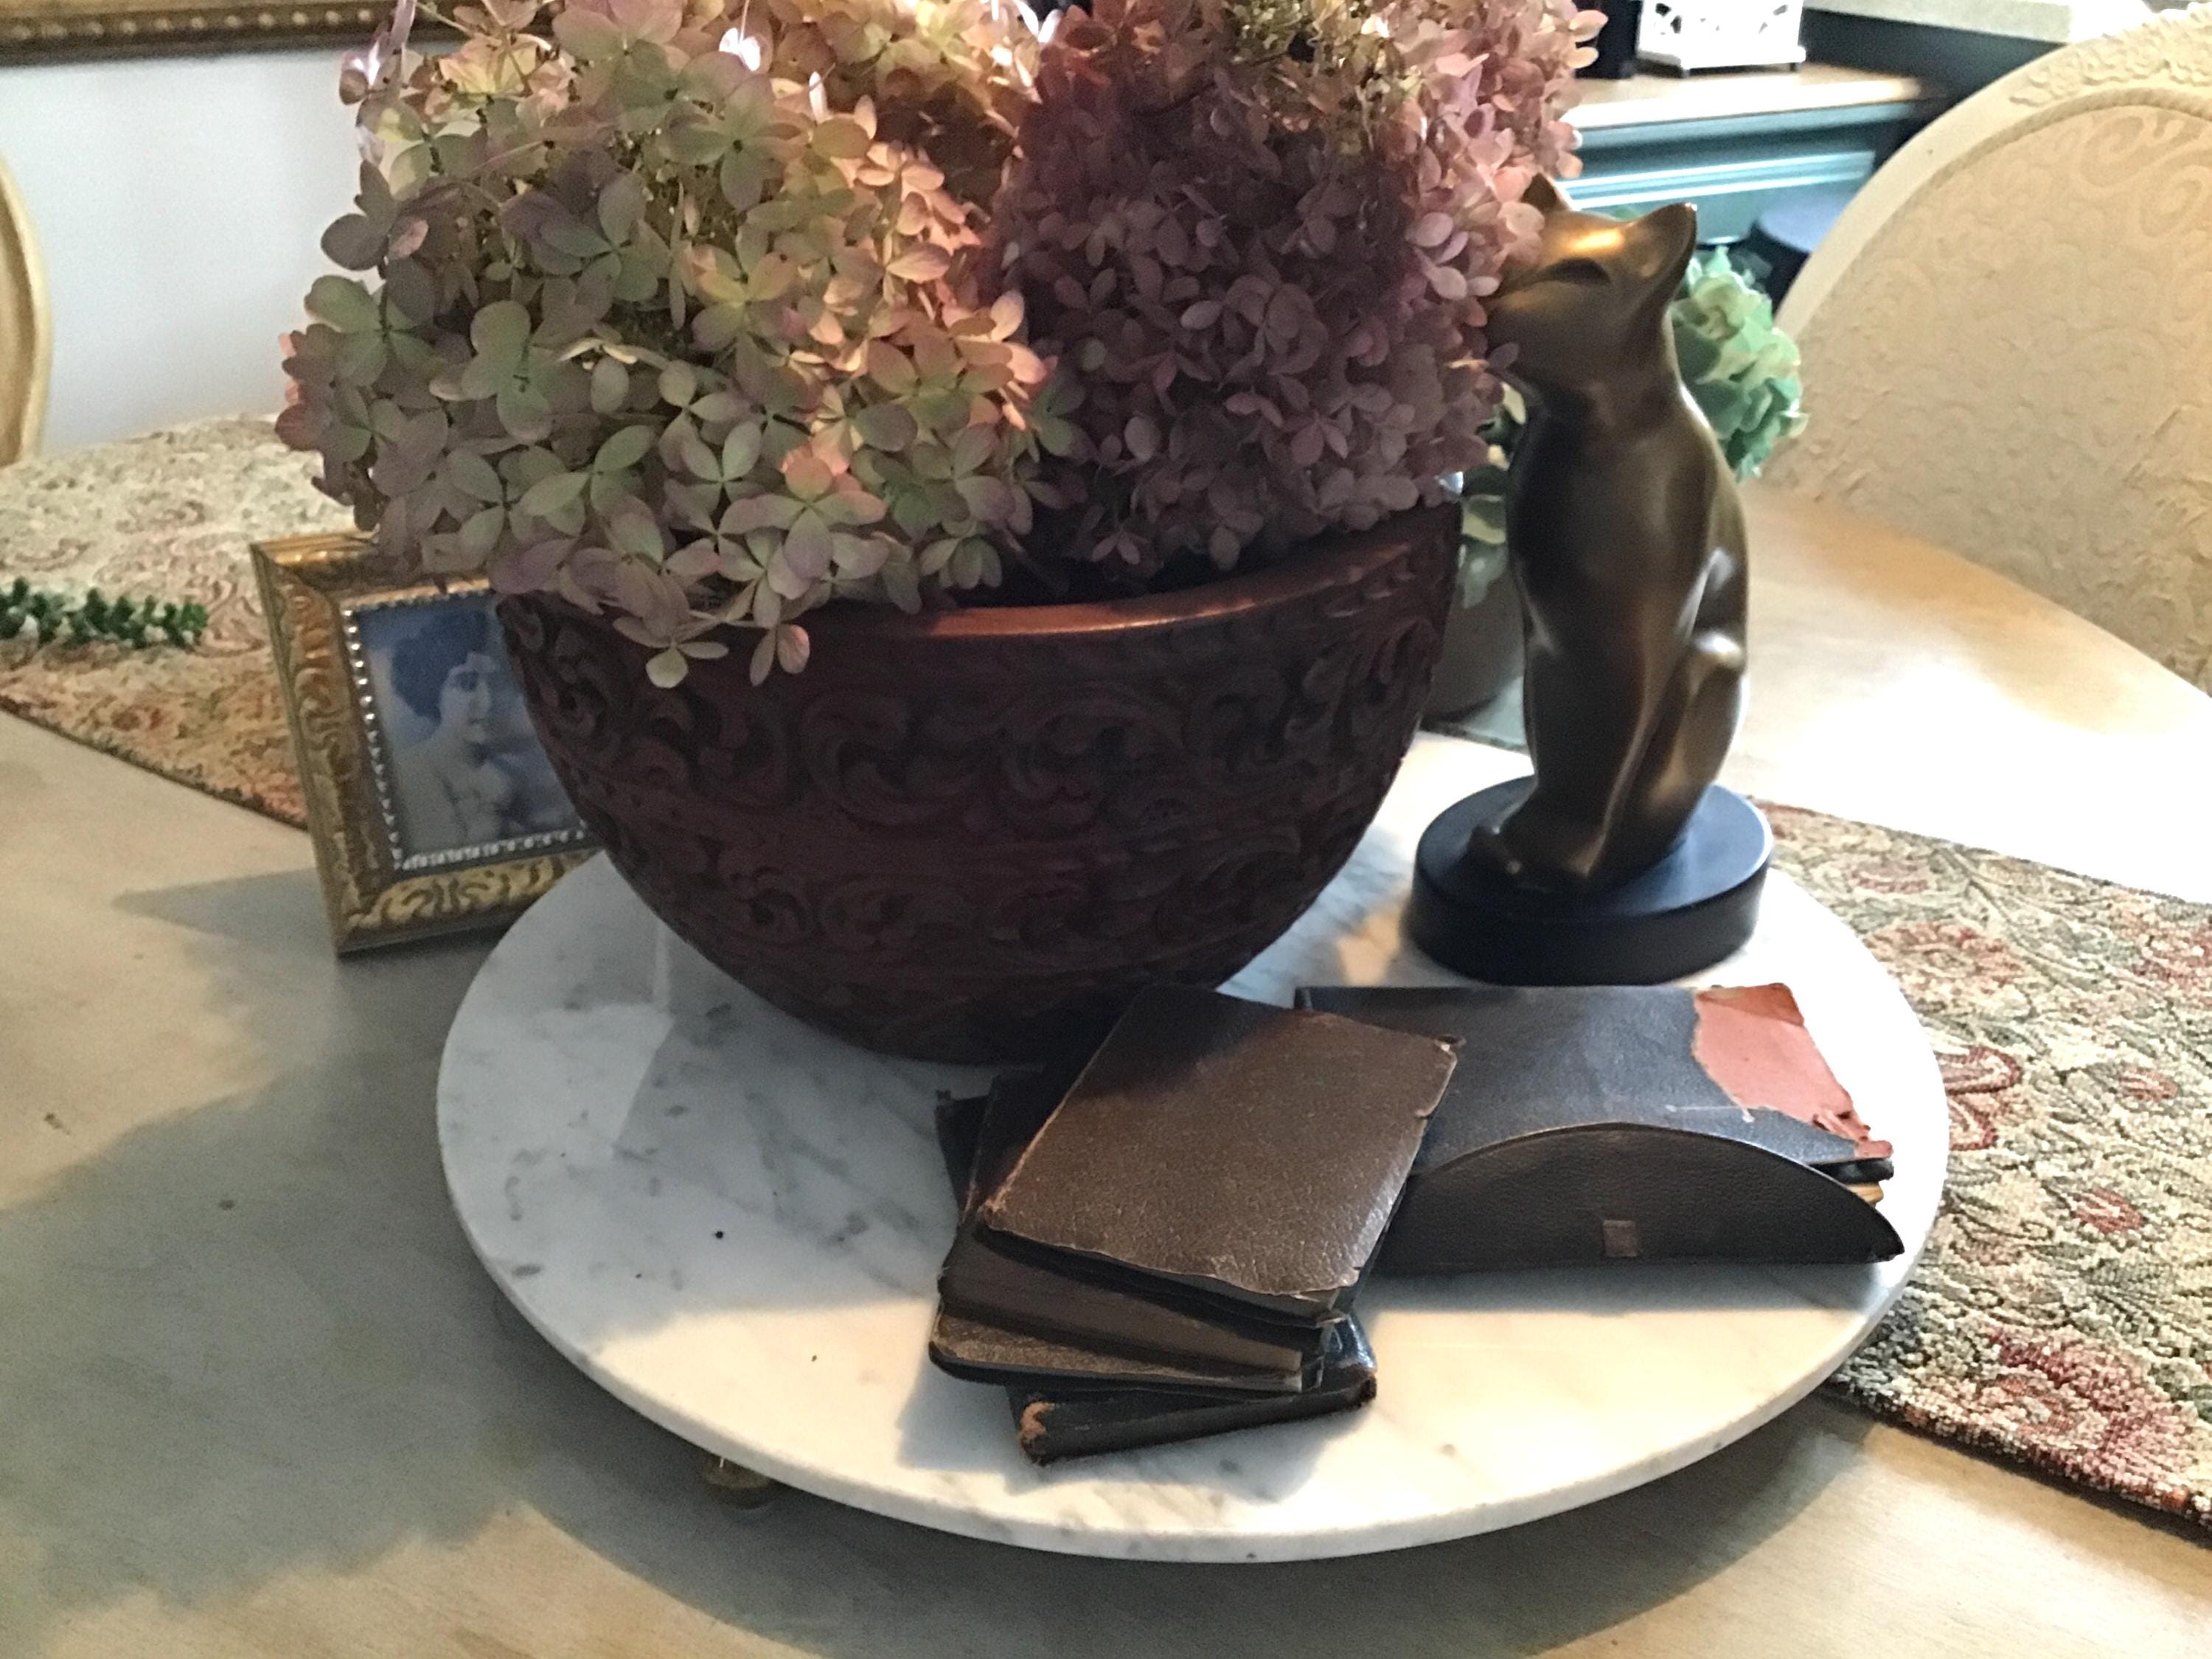
- A repurposed marble tray (from charcuterie to decor)
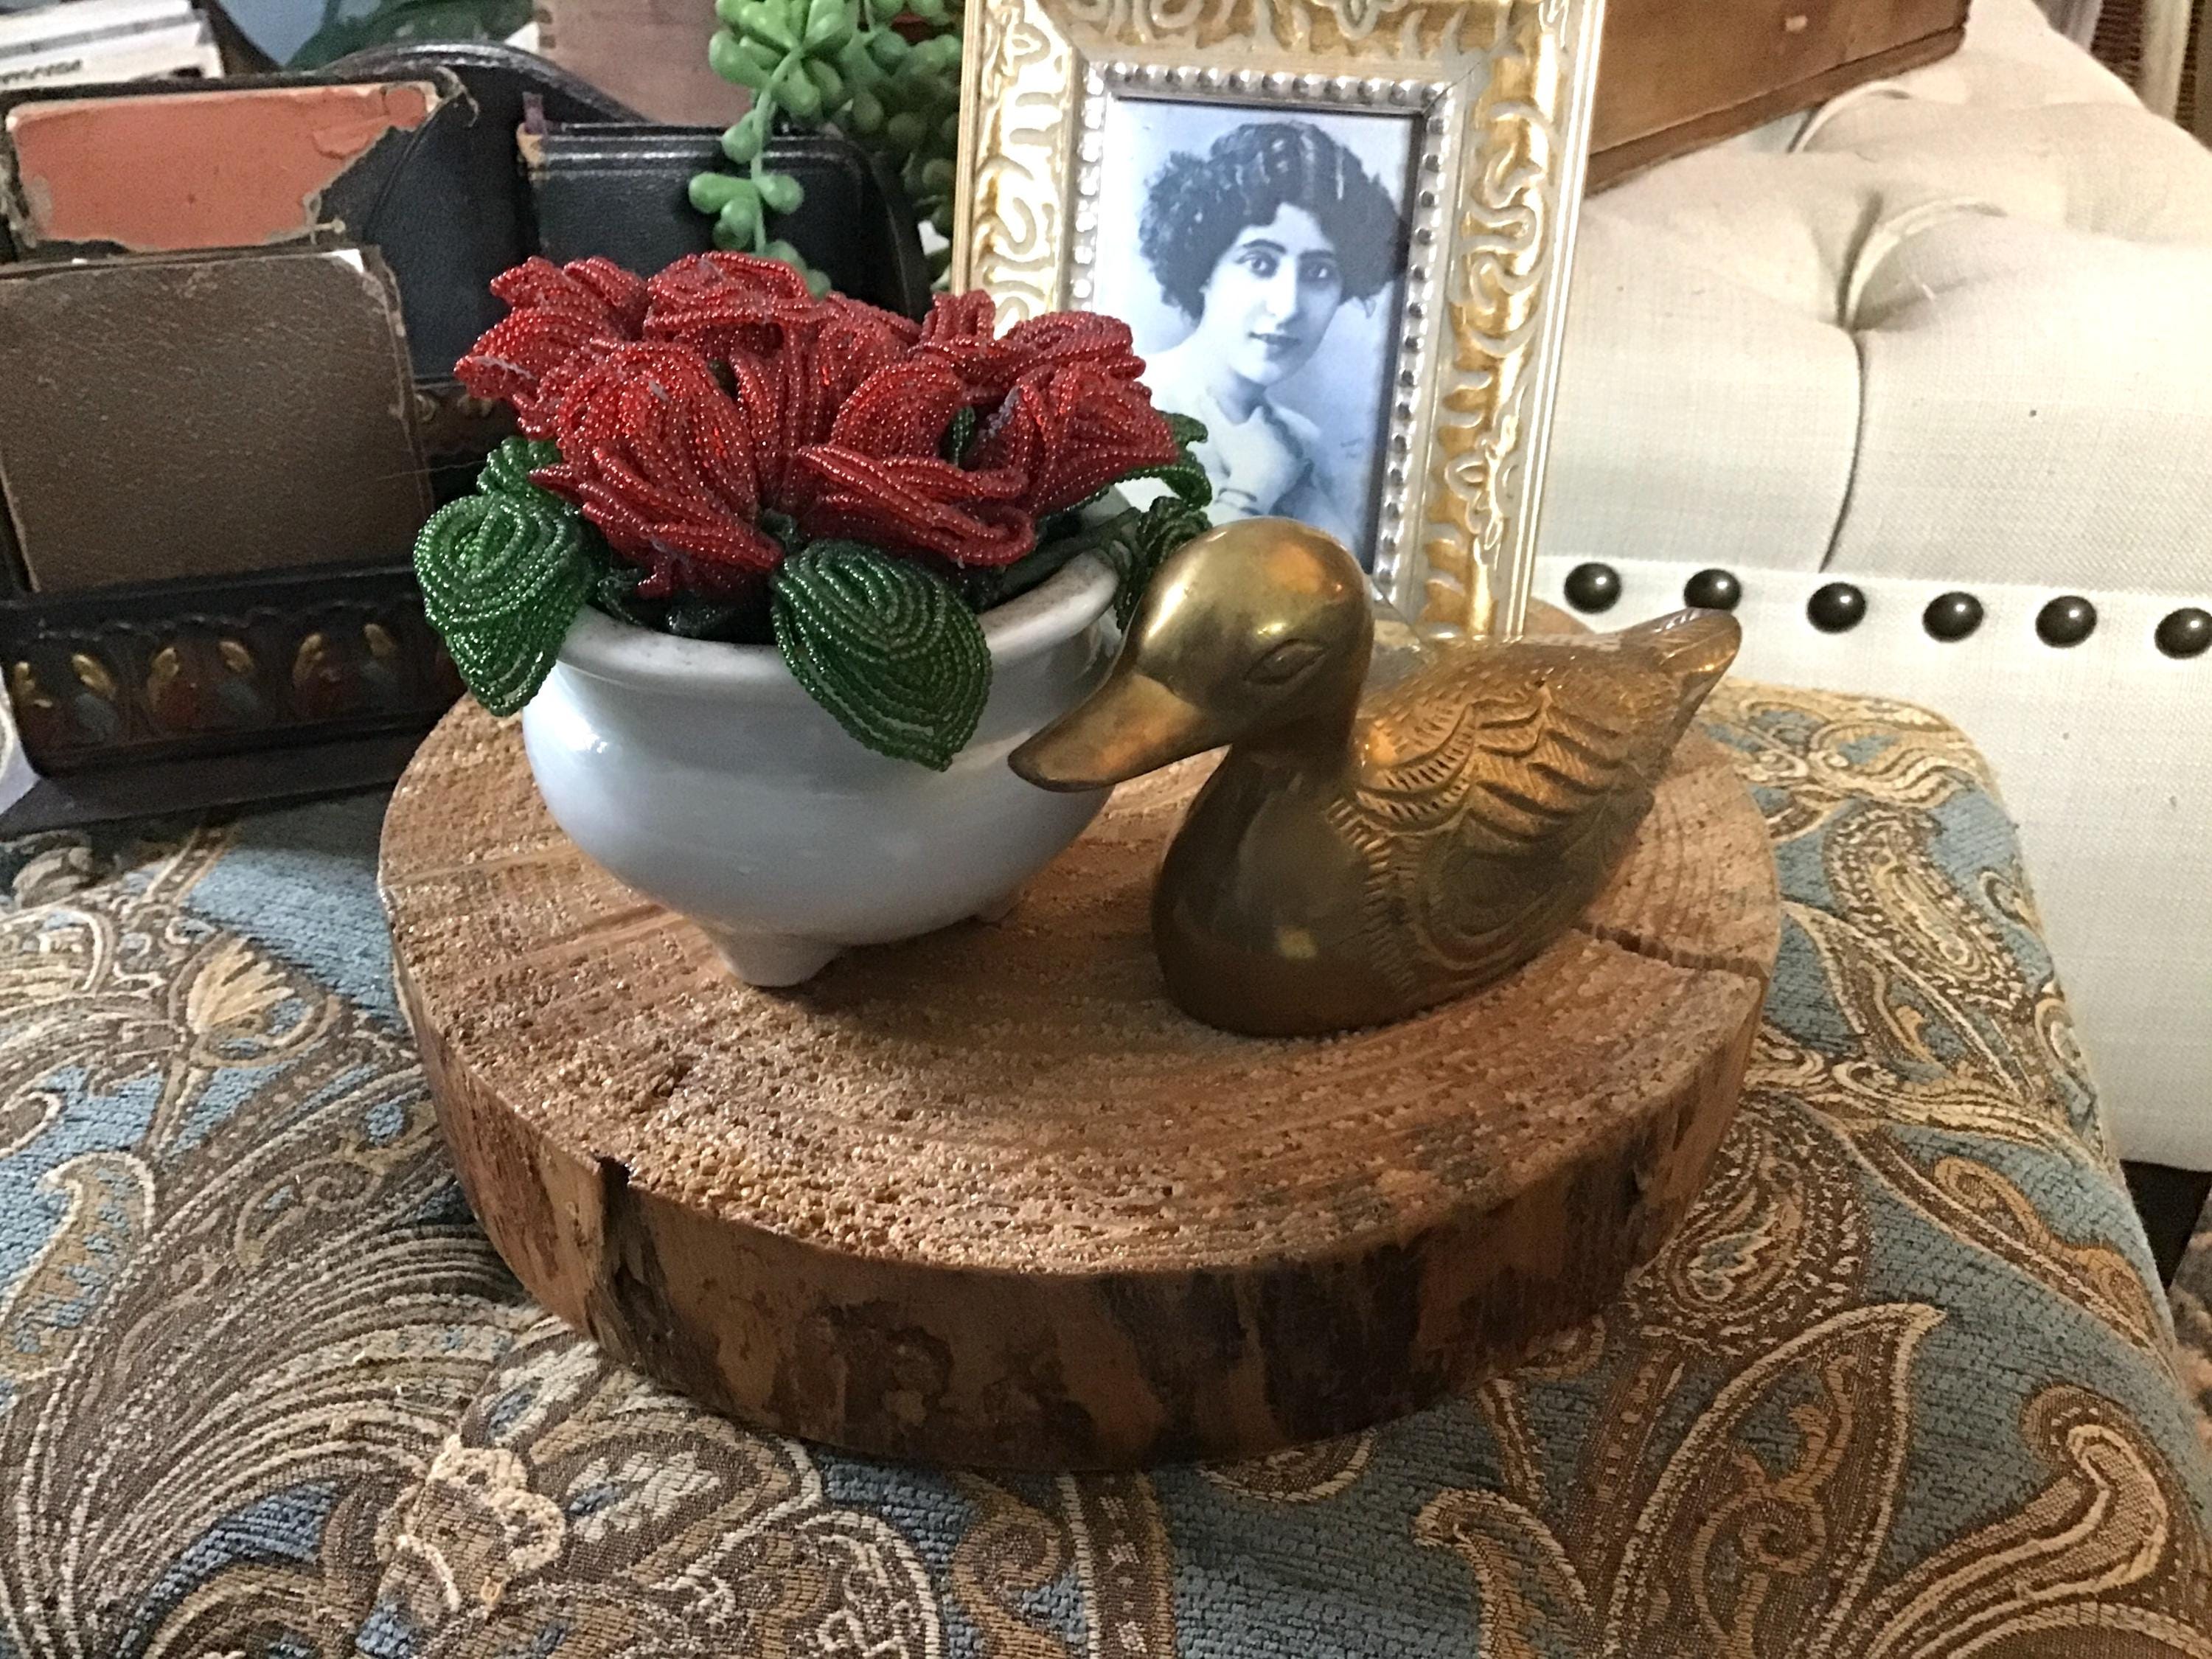
- A slice of rustic wood for small spaces
👉 Tip: Don’t stress about scratches or worn spots—those imperfections are what make vintage trays charming!
Step 2: Pick a Theme (So You Don’t Feel Overwhelmed)
One of the biggest styling mistakes is trying to use everything you love at once. Instead, pick a simple theme to guide your choices. Here are a few easy starter ideas:
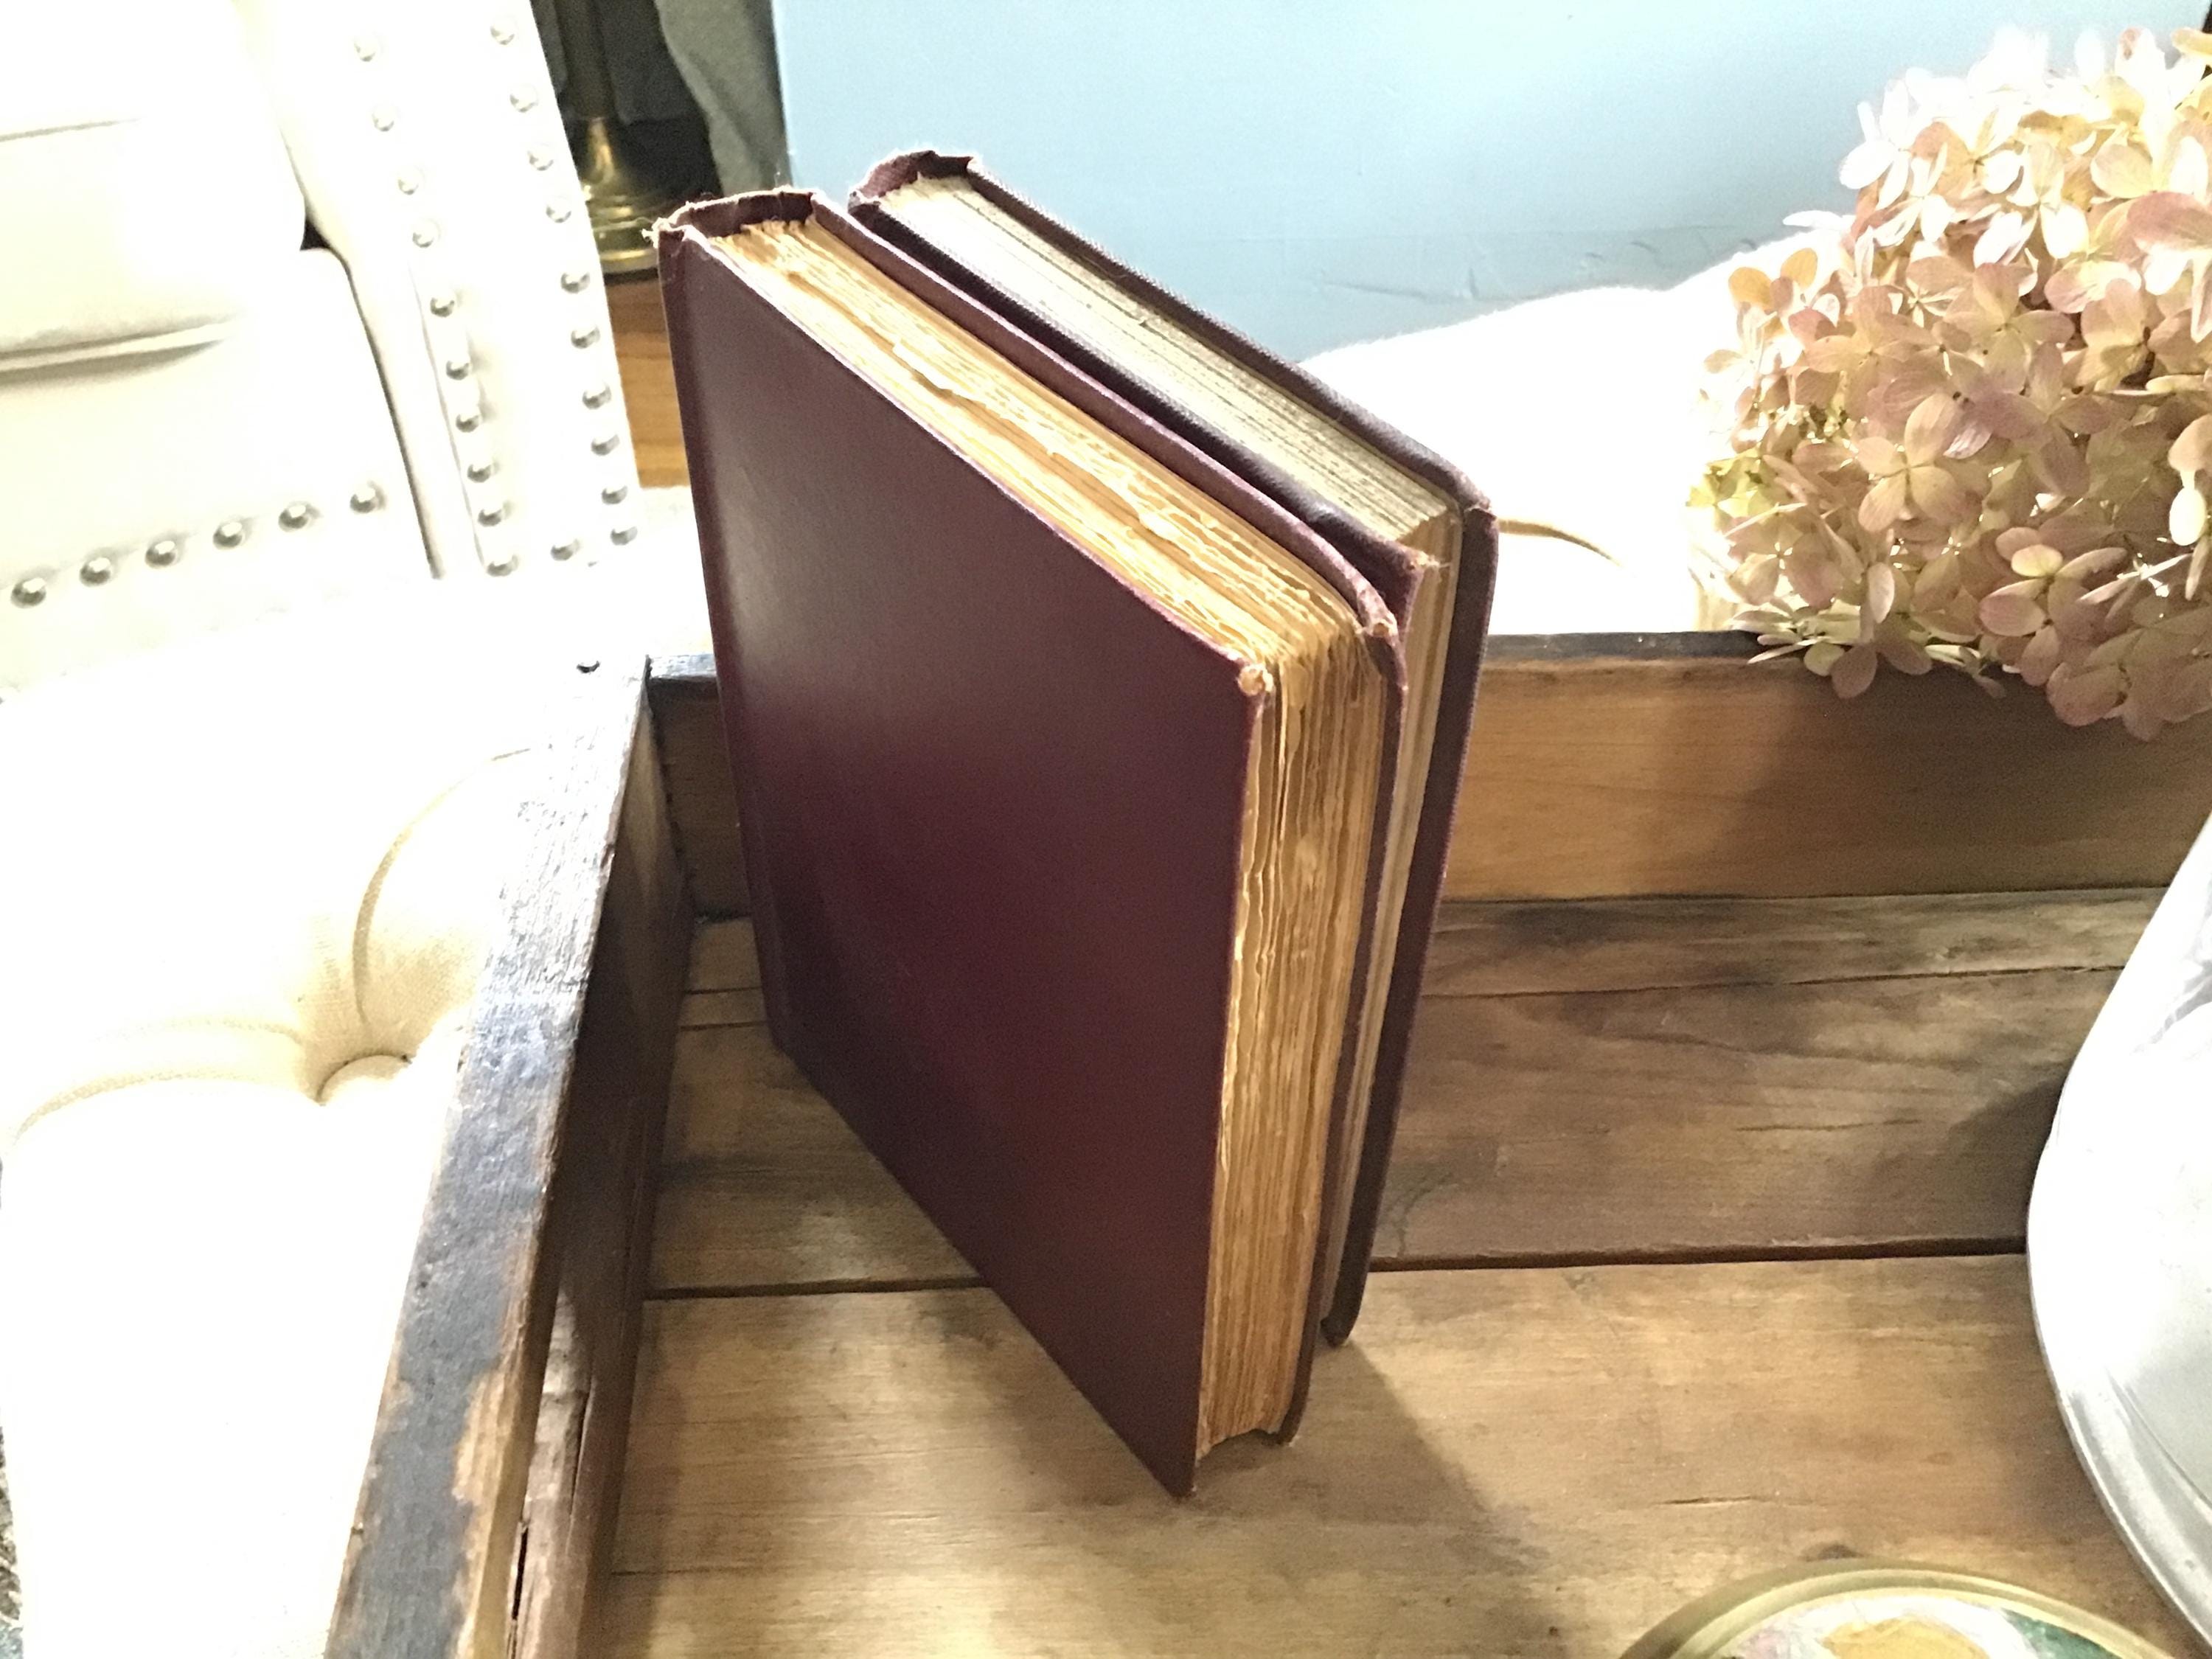
- Cozy Reading Corner: Books, a teacup, and a small candle
- Vintage Vanity: Perfume bottles, pearls, and an antique mirror
- Rustic Kitchen Charm: Mason jars, a small potted herb, and a vintage scoop
- Seasonal Touches: Mini pumpkins for fall, greenery for winter, seashells for summer
- Think Outside the Box: Don't be afraid to experiment with unusual items and take the opportunity to display favorite pieces
A theme helps your tray tell a story—and it keeps you from second-guessing every piece you add.
Step 3: Use the “3-2-1 Rule”
If you struggle with arranging items, this simple trick always works:
- 3 heights: something tall (like flowers), medium (a candle), and short (a trinket or book).
- 2 textures: mix something shiny (like glass or metal) with something soft or natural (like wood or linen).
- 1 pop: a little color or sparkle that catches the eye.
This combination automatically adds balance and visual interest without feeling cluttered.
Step 4: Layer and Contain
Vintage trays look best when they feel collected, not perfect. Try layering smaller items on top of books or fabric napkins, or corral tiny objects in a small dish or teacup. These mini “zones” make your tray look styled—even when you only used what you already had.
Step 5: Add a Touch of Life
Every great vignette needs something alive—or that looks alive! Add a small plant, dried flowers, or even faux greenery. A little bit of organic texture softens the whole look and keeps it from feeling stiff.
Step 6: Step Back and Tweak
Once you’ve styled your tray, walk away for a few minutes and then come back with fresh eyes.
Ask yourself:
- Does it feel balanced?
- Is there too much clutter?
- Do my colors and textures mix nicely?
You’ll be surprised how small tweaks—like removing one item or centering another—can make everything click.
Bonus: Keep It Personal
The best vintage trays always tell a little story about you. Add a framed photo, your favorite book, or a trinket from your travels. Personal touches make your vignette feel intentional, not “copy-and-paste.”
Final Thoughts
You don’t need professional styling skills or a big decor budget to create beautiful vintage tray vignettes. Start small, follow the simple rules above, and remember: vintage isn’t about perfection—it’s about personality. The more you practice, the easier it becomes—and soon, you’ll be styling trays that look like they came straight from a magazine… only better, because they’re yours.
Shop vintage decor piees to add to your tray vignettes!